Our kitchen is by far the most used space in our RV. We kept the design of the space simple and clean since we knew it would be filled with things we actually used everyday. Cooking in a tiny space is changing some of our cooking habits, but we are figuring it out as we go!

Renovation Phase
The kitchen was the only area where we left the existing furniture. After researching our options, leaving the cabinets seemed like a no brainer. The cost for custom cabinetry was way out of our budget and trying to work with the electricity, water connections, building in a slide out seemed daunting, so we went for paint!


This photo (from beckiowens.com) was the inspiration for our color scheme and style of the RV since day one. We loved the clean and airy feel as well as the fun pop of color without being overbearing in a small space. We headed to Lowes, color matched as best we could (I think we went a tad bit lighter) and grabbed 100 cans of primer and white paint (only a slight exaggeration here... really). Looking back, we probably would have benefited from buying our primer and paint in 5 gallon buckets. We could have only used two buckets of each (versus a ton of one gallon cans) for the whole RV and saved some money.


To start, we removed all the cabinet fronts, hardware, and hinges. At this point we had convinced ourselves that the flooring would be the hardest part of the process…not true. The cabinets were by far my least favorite part of our renovation process. We used a circular sander to buff down the surface of each cabinet front—all 53 of them. At first, we hand painted the primer and bribed friends with pizza to help. But, two afternoons in we bit the bullet and used a paint sprayer for the remaining painting, which was a total game changer. We finished the last two coats of paint in a fourth of the time the primer took us.
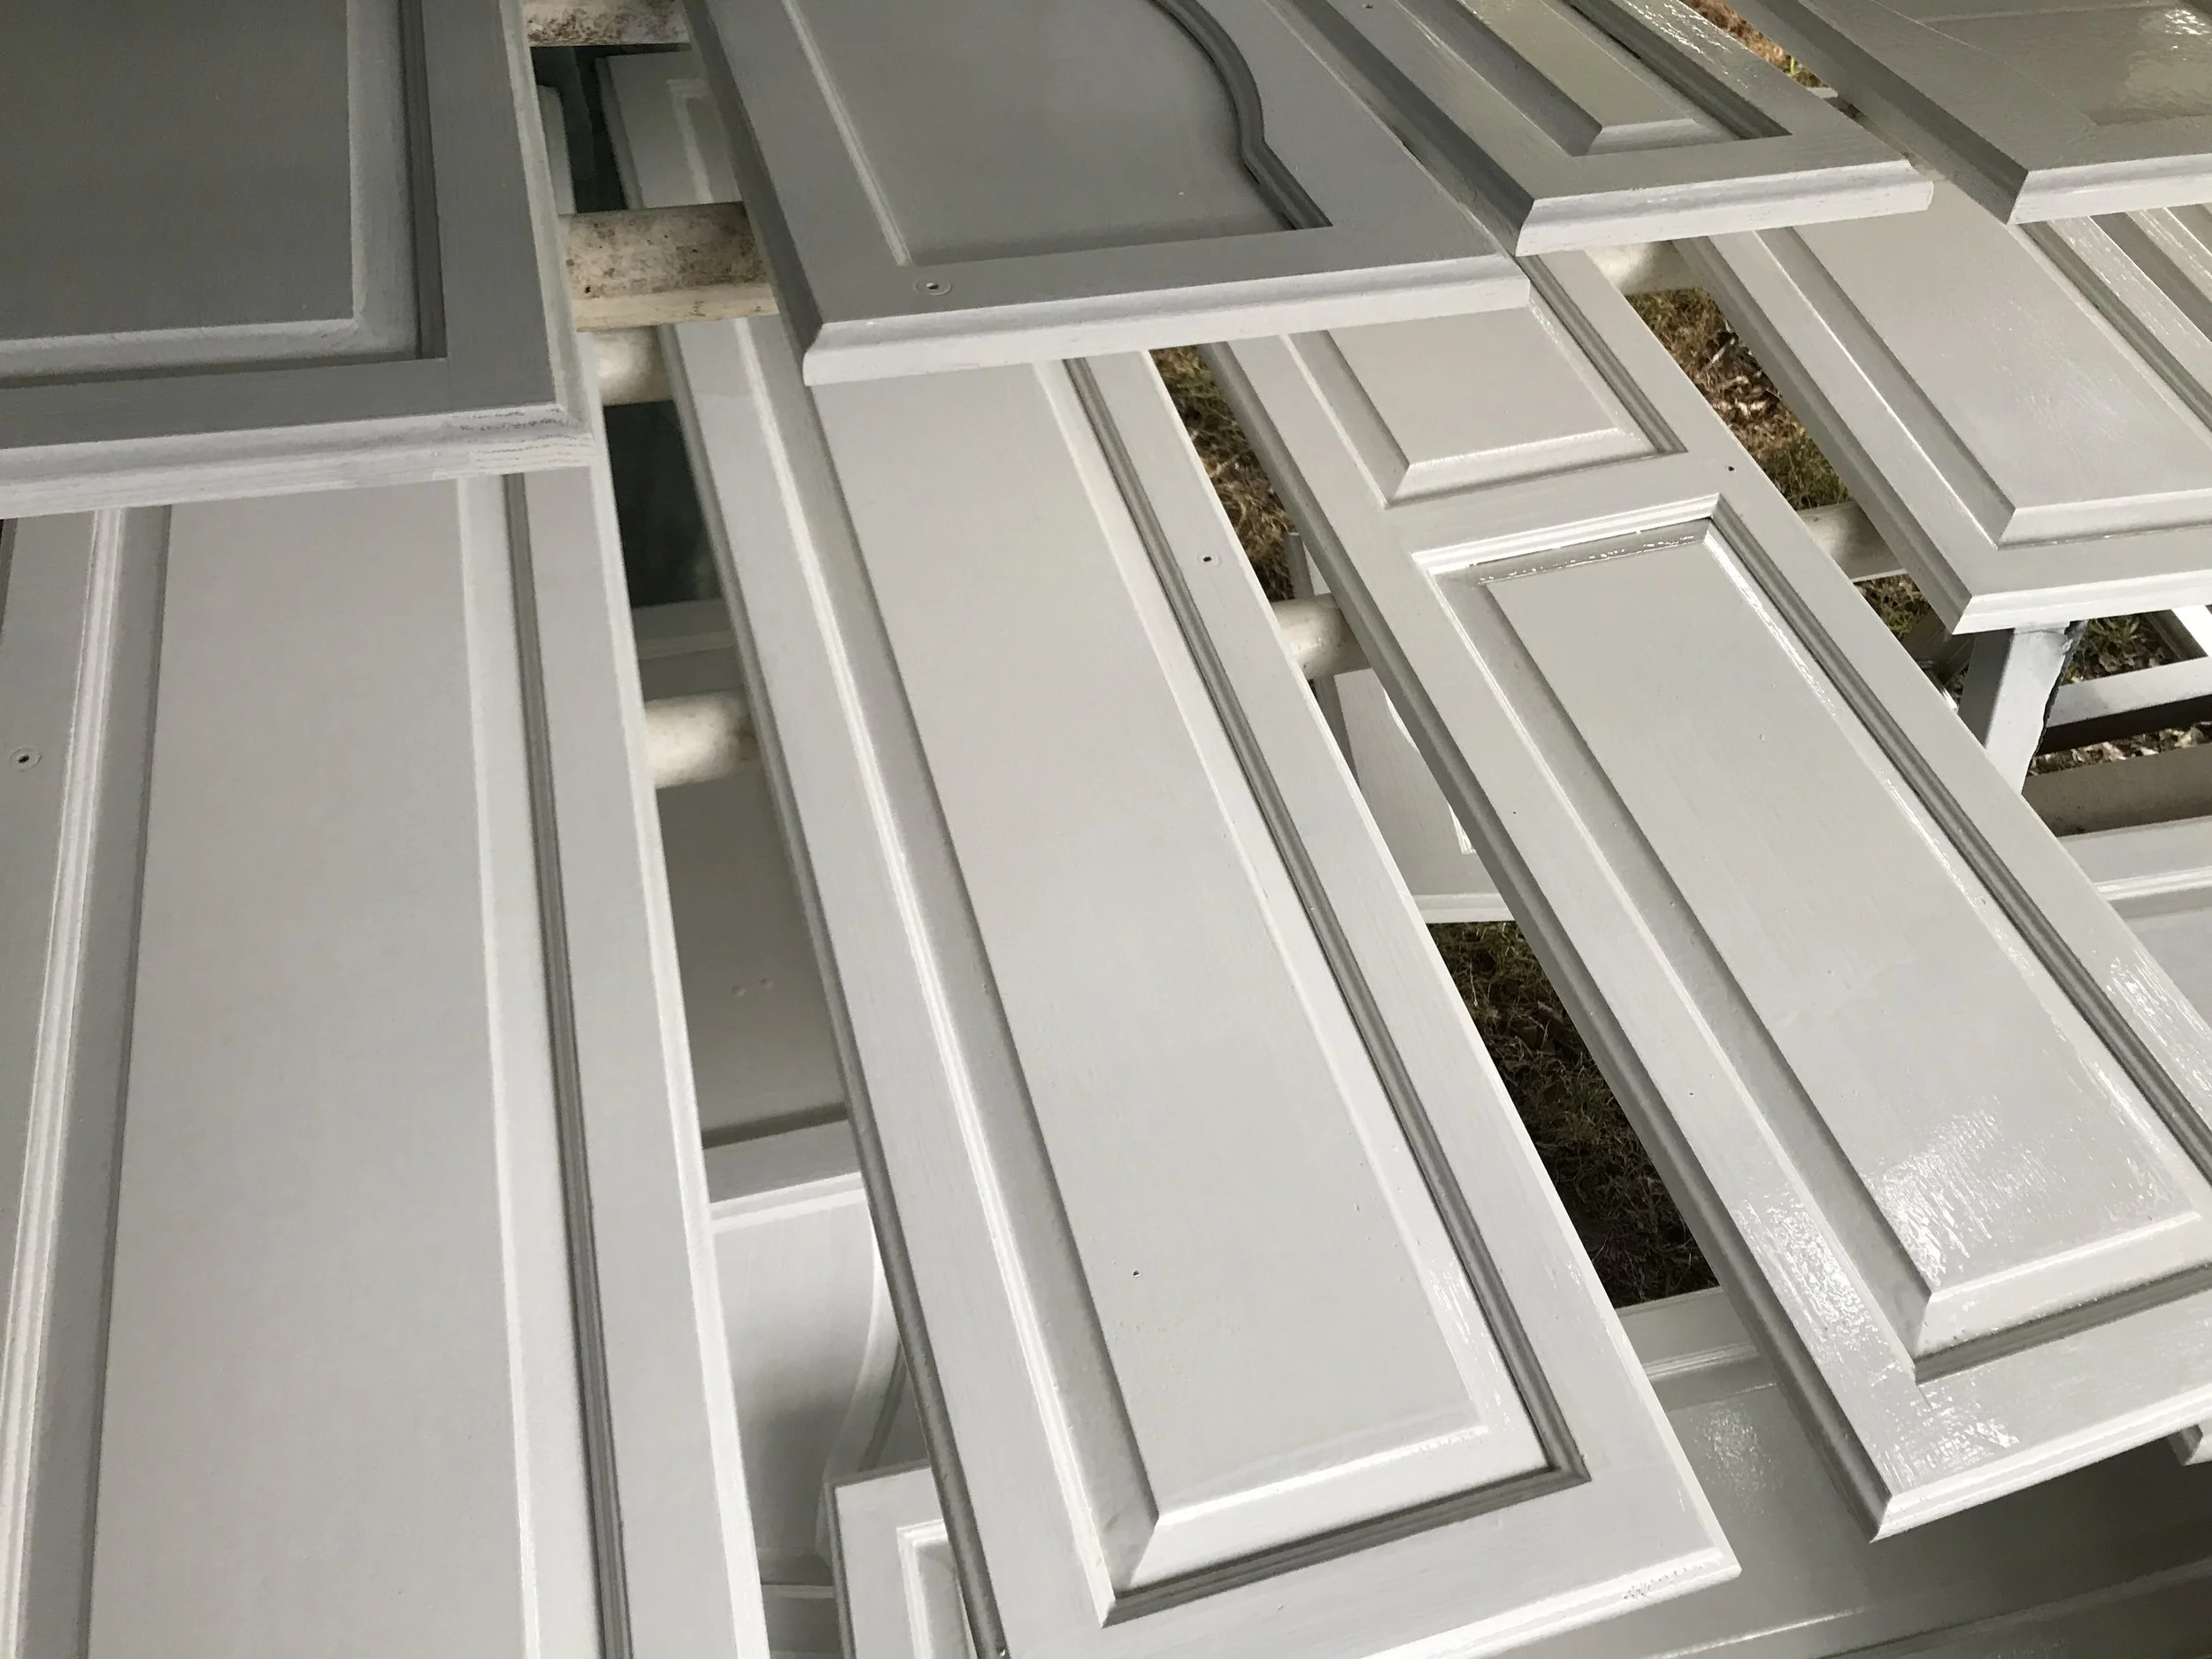
Now, in case you’re feeling like this is leaning toward the dramatic side on my lasting grudge toward the cabinet work, let’s do some math:
53 cabinets
106 surfaces to paint (front and back)
2 coats of primer on each - 212
2 coats of paint on each - 424
Each surface was sanded before and between each coat of paint - 4 x 106 = 424
TRANSLATION:
We painted a surface of a cabinet four hundred and twenty four times.
We sanded a surface of a cabinet four hundred and twenty four times.
HOLY COW.
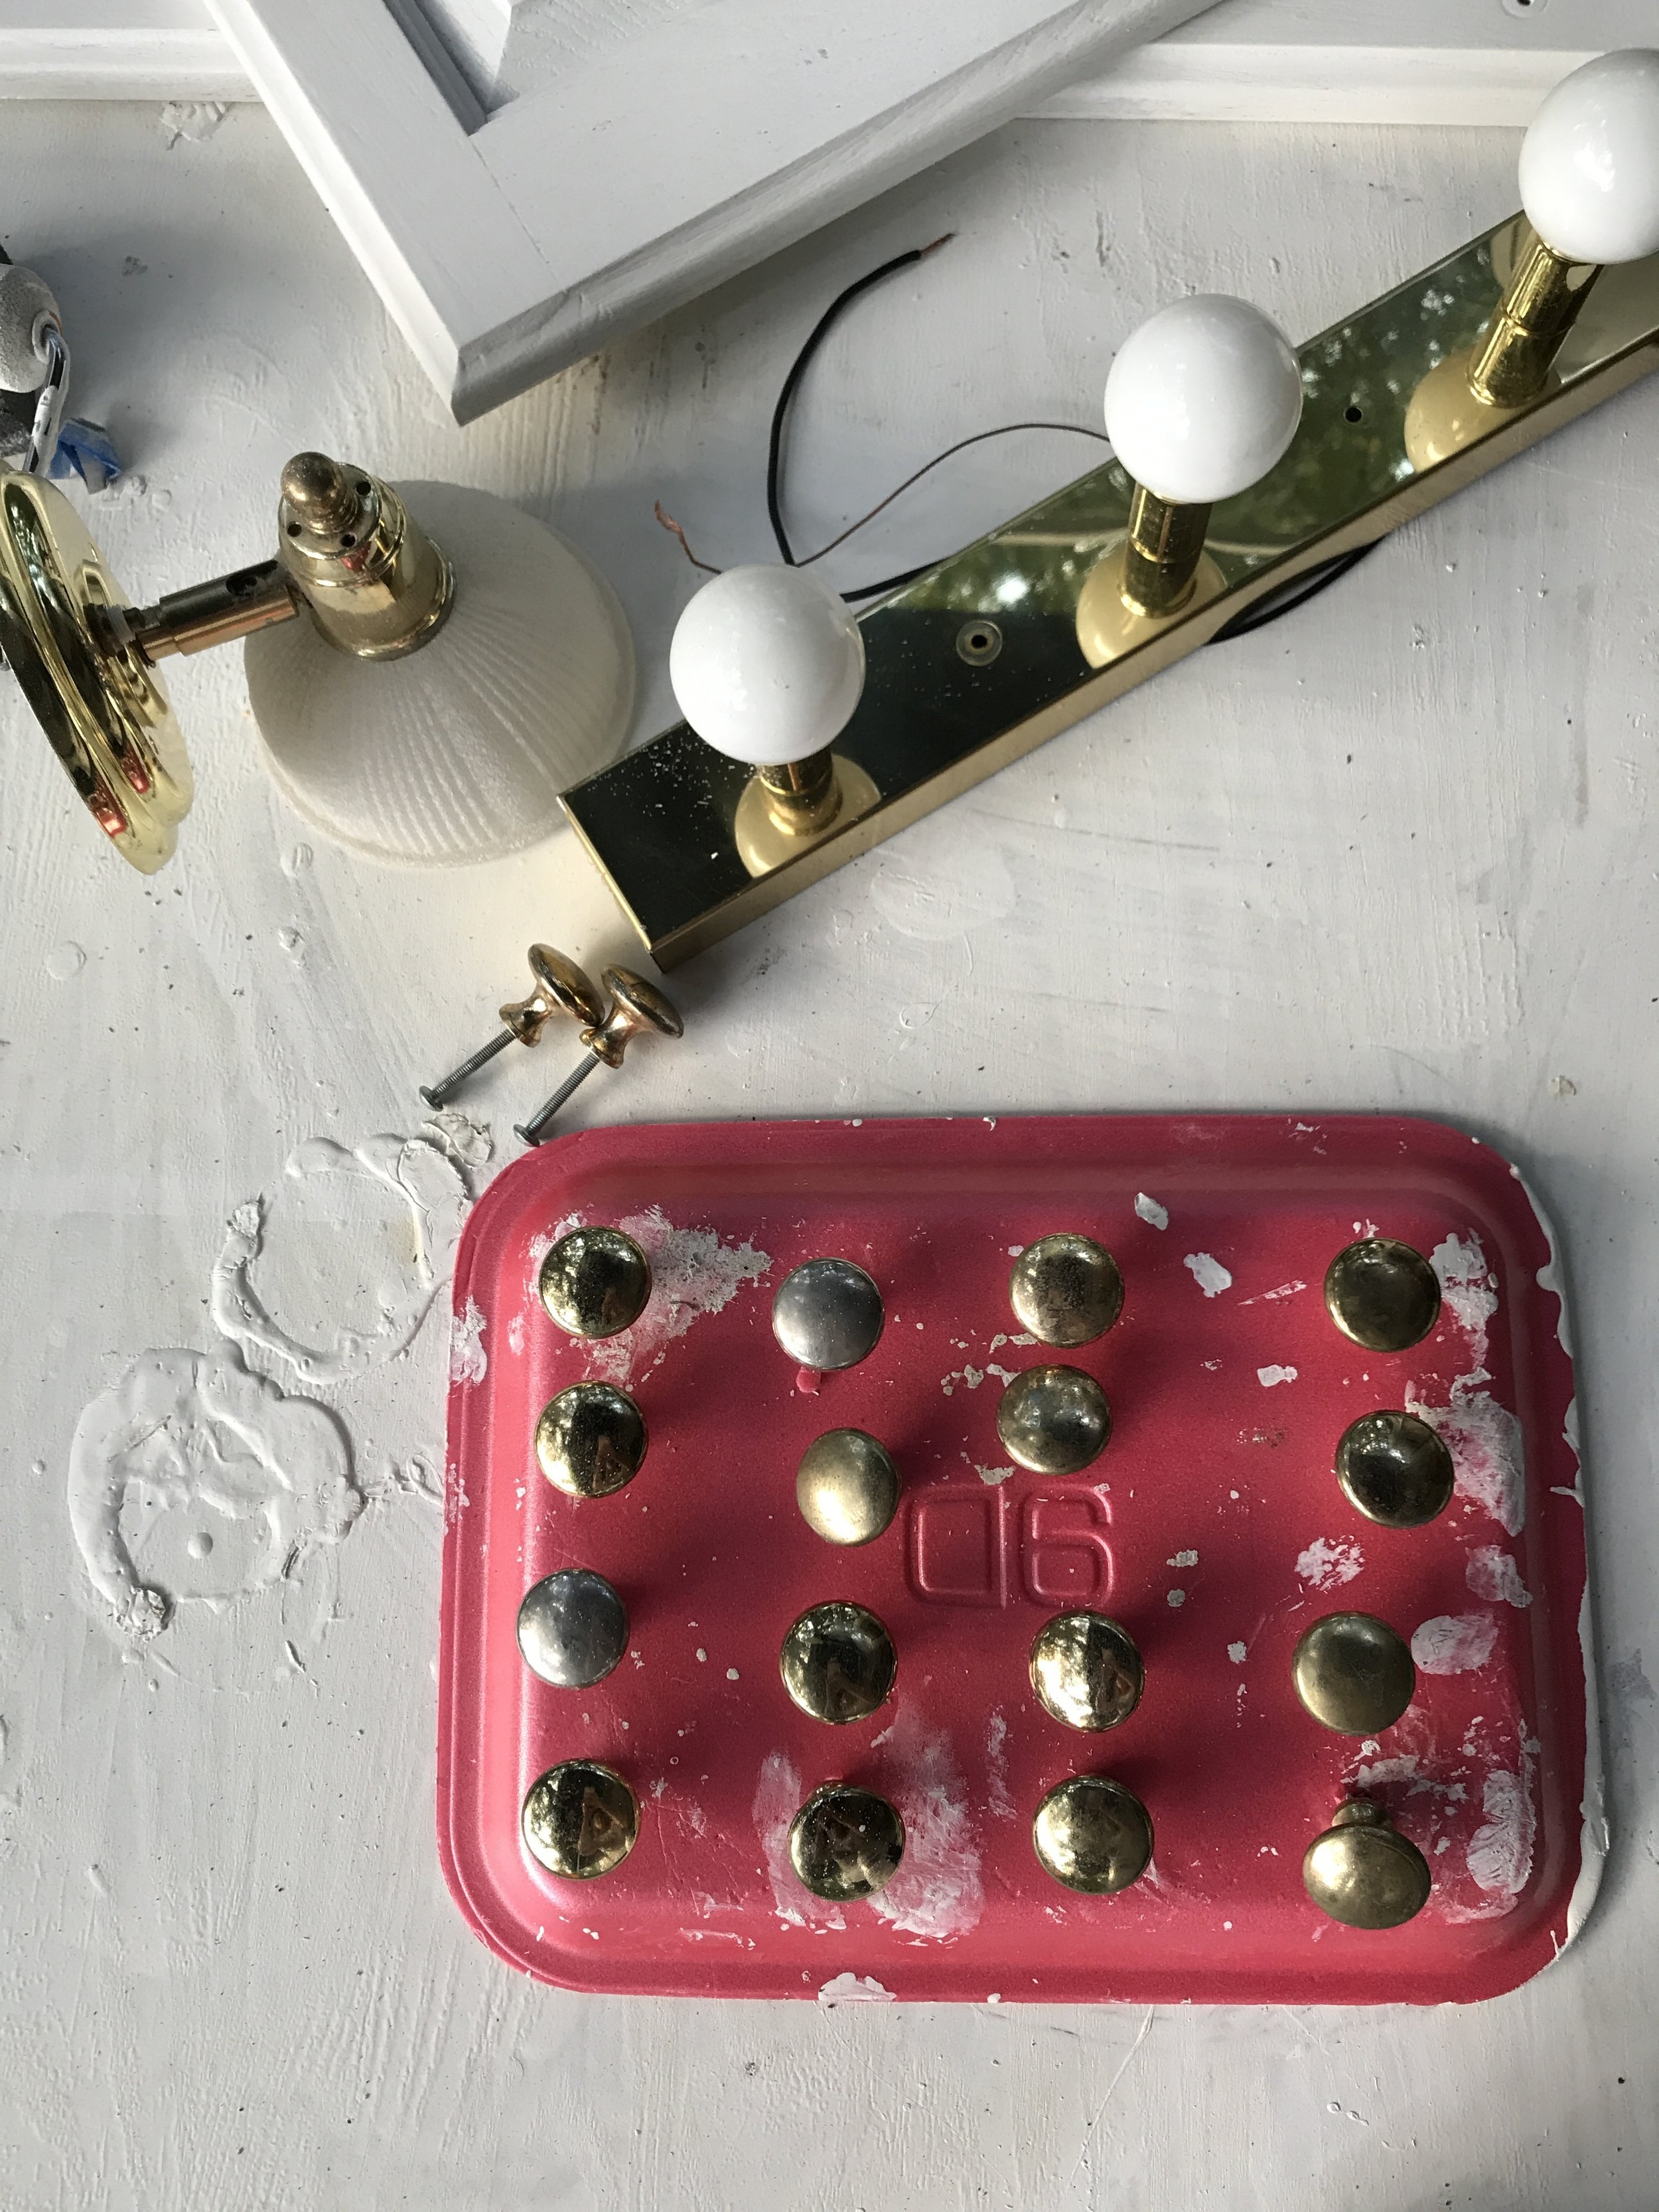
As for the cabinet hardware, we decided to keep the existing pulls, but give them an update. Each piece of hardware was spray painted with metal paint from lowes (things got classy here) to take it from a dated yellow gold to brushed bronze.
In the end it was 100% worth it and painted cabinets completely changed the look and feel of our home. And, don't tell Colton, but I would totally do it again.

From there, the kitchen stayed pretty simple! We grabbed some stick on backsplash tiles from Home Depot when they went on sale. We love the finished feel they gave to the space without adding the weight that ceramic tile would add (which is a big thing we have to think about as our tiny home can go on the road). We hung some baskets for fruit, upgraded our nespresso machine for everyday practicality, then called it good!

Cooking in this space has been an adjustment and to be completely honest, we don’t do 100% of our cooking in the RV. Meal planning has been a lifesaver for us. We’ve always had a designated “cooking day” where we prep meals for the week. While this is totally doable in a small space, we more often than not,opt to do our meal prep at our family’s home nearby. This way, we can cook large quantities all at once and have our instant pot, crock pot, rice cooker, oven, and stove top all going at the same time—something that would surely blow a fuse in the RV and result in a super cramped and hot space. While this isn’t our long term plan, it totally works for now. Once a week I (Allie) cook enough meals for that week’s dinners (two or three different main dishes and sides to mix and match). There’s usually also enough cooked for my parents to share with their busy schedules as well.

We cook all other meals in the RV and really find the space comfortable when fixing a single meal! Colton cooks a hot breakfast of eggs every morning, and we fix our lunches and dinners either on the stove or with the grill.

It’s definitely been a learning curve, and there are a few things we have had to change to make tiny cooking work for us:
Paper plates and bowls. We have always tried to stay away from disposables but after doing all your dishes by hand, using a paper plate for your bagel seems like a great idea. It saves us water and tons of time.
“No bake” or cold dishes. We have come to enjoy a lot more dishes and meals that don’t require using any propane. Some of our favorites include icebox cakes (perfect to take to parties!) and chicken salads.
Following a “shelf cooking” mentality. If you haven’t heard of shelf cooking, you’re missing out. Put Funcheapofree.com on your reading list. We try to use EVERYTHING we have before we buy more. It eliminates waste and really helps us use our storage space wisely. Meal planning also really helps with this. Tiny freezer and fridge means a lot of Tetris is played on grocery day!
